How to connect a tag to an asset
Assigning a tag to an asset allows you to link the tag (QR or NFC) with a specific asset. When the tag is scanned, the information related to that asset is displayed. Follow the steps below to assign a tag to an asset.
Step 1: Visiting a Non-Registered Tag
When visiting a non-registered tag, TicTAP will prompt you with a form, indicating that the tag has not been assigned to an asset. You can initialize the tag by selecting an existing asset from your Workspace.
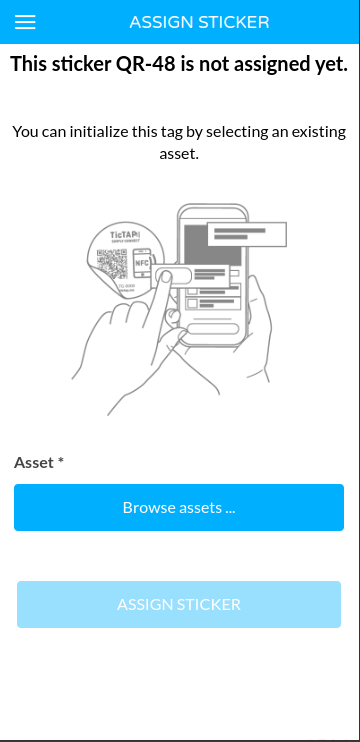
Step 2: Browsing the Workspace to Select an Asset
Once in the form, click the Browse assets... button to select an existing asset from your Workspace. You can browse through different levels of the Workspace hierarchy to find the asset you want to assign the tag to.
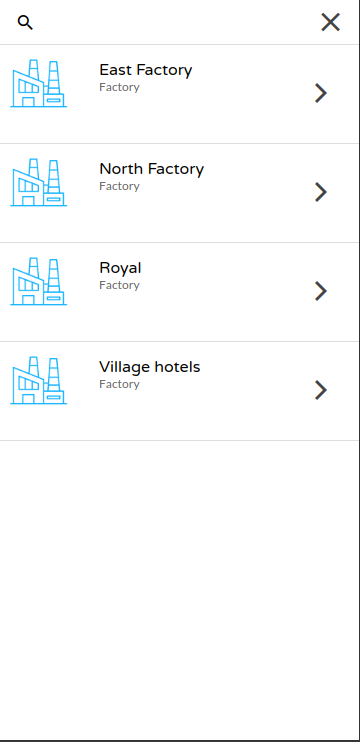
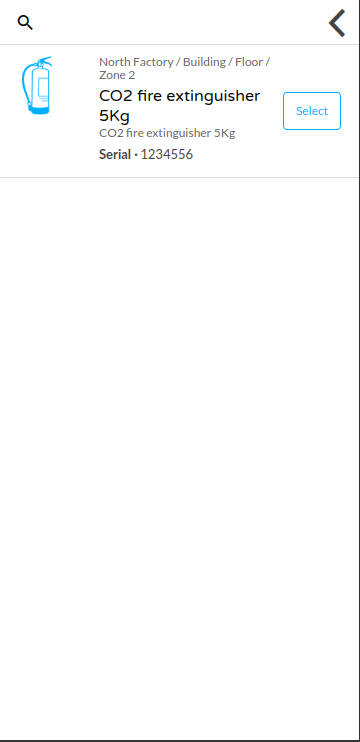
You can navigate through different locations such as factories, buildings, floors, or zones to locate the correct asset in your workspace. When you find the asset, select it to proceed.
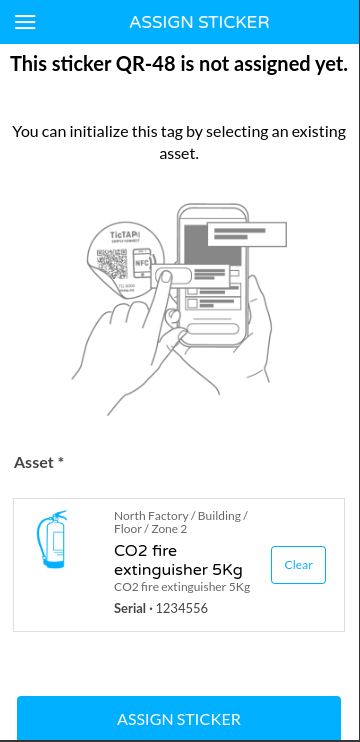
Step 3: Assigning the Tag to the Asset
After selecting the asset, submit the form by clicking the Assign Sticker button. The system will now assign the tag to the chosen asset and reload the page to display the asset's information. The content displayed depends on the configuration of the application associated with the asset type.
Conclusion
Once the tag is assigned to the asset, it becomes associated with the asset type and its related application. From now on, whenever this tag is scanned, the relevant asset information will be displayed, including any forms, history, or other data associated with the asset.